Hold on to your hats because this is a long-winded post! But, I hope you find the step-by-step pictures useful in using the stamp positioner in lining up your own stamped images on matching die/digi cuts. I should clarify that this may not be the correct way to use the positioner but it's the way I use it because it makes sense to me. :) And, even though there are a ton of steps, once you have the steps down,
it really doesn't take too long to make a bunch of these so don't be intimidated. Jump in and have fun!
This is a peek at the card that made me so deliriously happy earlier this fall. It made me fall in love with the Silent Night stamp set more than I already did. It speaks to me in so many ways because of nostalgia, home, peace, calm, simpler times, silence, winter joy...you get the idea. I *heart* it.
A Muse Studio came out with digi die cut options this Fall for electronic die cutting machines. I have the Silhouette Cameo which is great. So, I purchased the silent night cutting file and found that I could cut 7 silent night parts out of one sheet of cardstock. I maybe could have fit one more on but didn't want to take the time to maneuver and manipulate and think that hard. *wink*
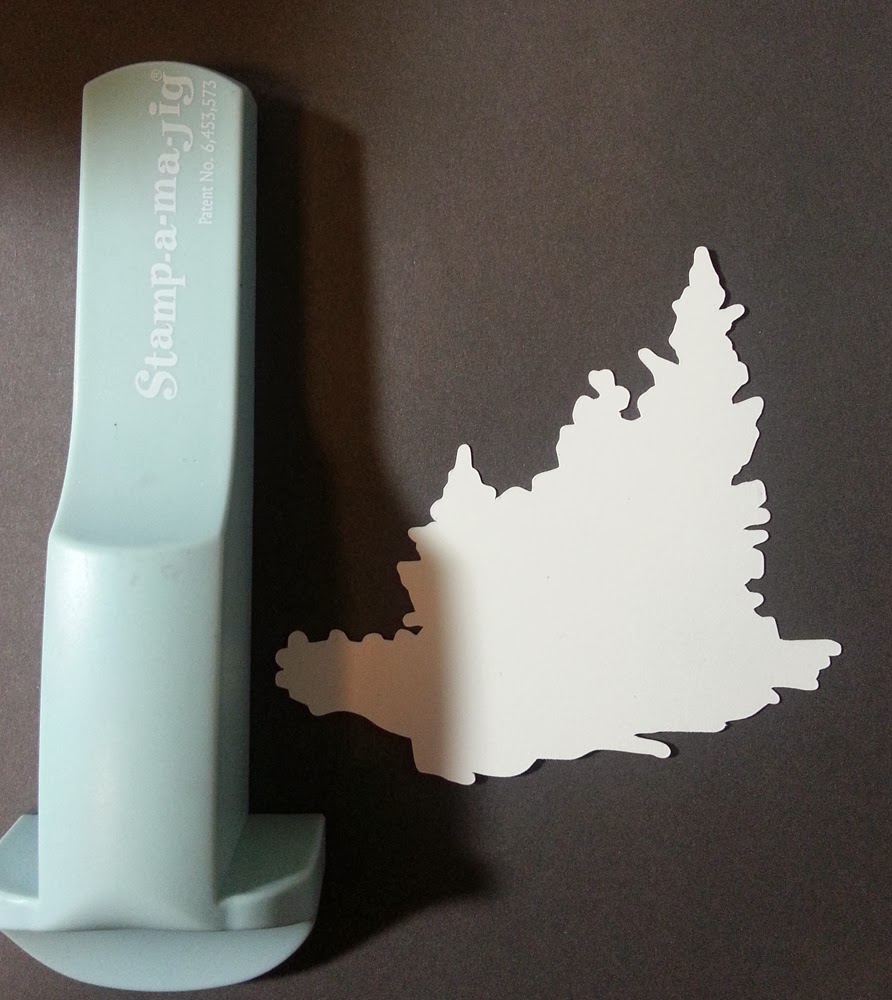
And, here's a blurry photo of one of the cuts. Doesn't look like much, does it? But, wait - more fun is coming!
Take the plastic sheet from the stamp positioner set and stamp the image on it using the stamp positioner. (oops - the sheet and the block should be lined up on the left (right side of the positioner). They were for the stamping but not the photo taking...oops!). And, my real-life work paper made some of the shots too. It's messy but shows that it's used well and often. :)
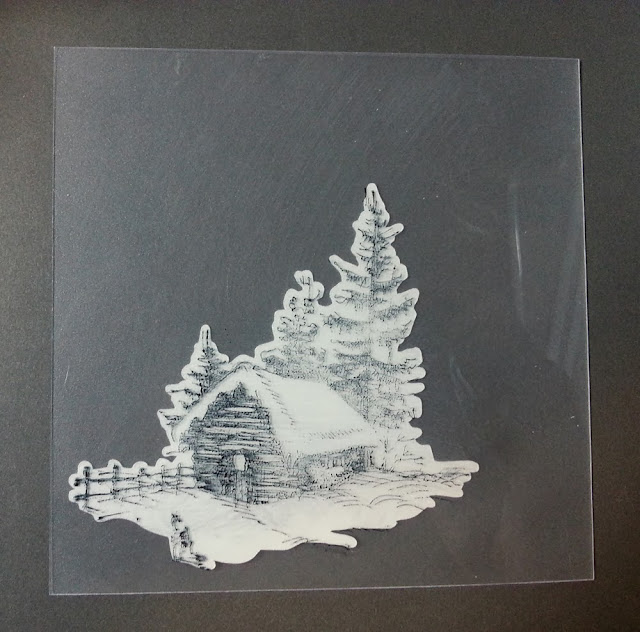
This is what it looks like after it's been stamped. I used memento ink. I have a little extra ink smudged on the plastic so it would show up for the photo.
The next step is to layer the plastic sheet over the cut out shape. See how the image is lined up with the cut shape below?
Take the stamp positioner and without moving the plastic sheet, line it up to the lower left corner.
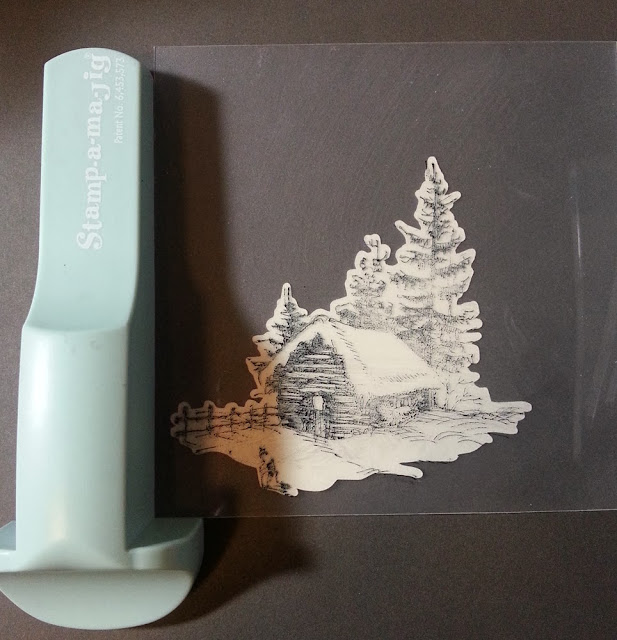
Carefully remove the plastic sheet taking care not to remove the stamp positioner or the digi cut.
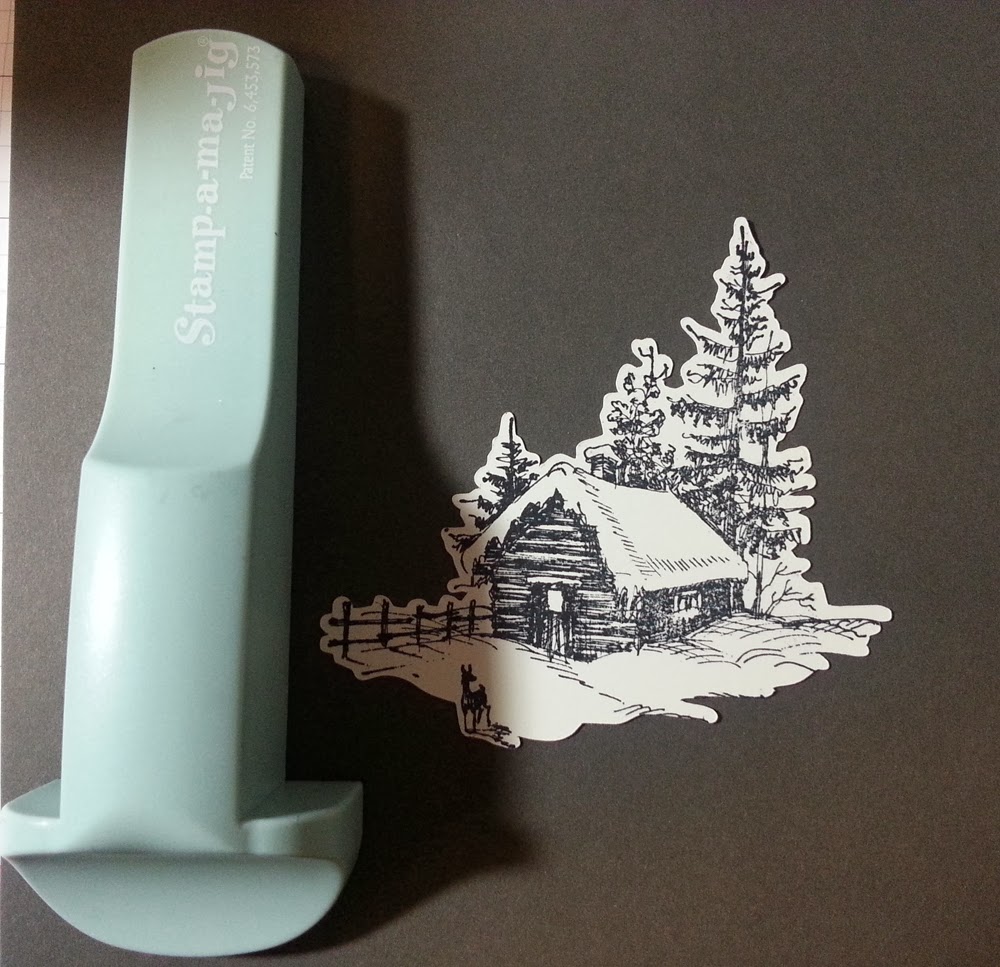
Then, carefully slide the block with the inked image into that corner and stamp on the cut file.
Remove the block and this is what you have - a perfectly stamped image. Isn't that awesome? It's a close cut without having to maneuver to cut all those little angles and details.
So now that you have the beautiful stamped image, it's time to bring it to life with a little copic coloring. Here are the copic colors I used. It's not an image that needs layers of colors (although you could) so I kept it simple with one color per family.
I started with the cocoa brown and colored in the cabin, the tree trunks, fence and deer. I also added the salmon red to the chimney on the roof.
Next I added the grayish olive to the tree branches. I just kind of scribbled over the leaves to give the hint of color.
The blue shadows were added next and a little grey too.
Finally, take the quickie glue pen and use it to add glitter wherever you think some snow is catching the sunlight or moonlight. A little "snow" on the branches and on the chimney and hanging like icicles and... I love adding "snow" with diamond glitter.
And, here's the final result! Isn't it pretty? A little embossing and silver cord finishes it off. I just adore this card and I hope you do too.
Supplies: (
Shop Online)
Cardstock: vanilla, silver star, silver shimmer
Stamp set: Silent Night
Ink: Memento Tuxedo Black and Versamark
Digi Cut File: Silent Night
Other: quickie glue pen, copics, diamond glitter, silver stretch cord, silver embossing powder, 3D Foam
I hope you enjoyed this tutorial. I'd love your feedback as there's always room for improvement. I also hope you enjoy this card that brings to mind simpler times.
Have a wonderfully creative day!


8 comments:
Great step by step tutorial! I love your card - it is just beautiful!!
Great tutorial. One thing I do when stamping onto the die cut is a little reposition all double sided tape or glue dot......to hold it in place so it doesn't move....
Great tutorial. One thing I do when stamping onto the die cut is a little reposition all double sided tape or glue dot......to hold it in place so it doesn't move....
That is a beautiful image! I have the Cameo on my wish list, but I'm thinking about getting the portrait... mostly because it's cheaper! LOL But I just can't decide if I'll be happy with the smaller size. Being able to create custom cuts like you did here is the main reason why I want one :) Great tutorial!
This is beautiful, Seleise! Thanks for sharing :-)
Stunnin!!! Absolutely stunning!
Beautiful!! :)
Very pretty - love all the glitter - looks like fresh fallen snow. Great tutorial too.
Post a Comment