As you know TAC closed it's doors recently and I really had no intention of going anywhere else to demo. Really! But, the lure of being part of a stamping company community drew me back in very quickly and I'm SO HAPPY! I am now a Creative Consultant for A Muse Studio! Do you know what's special about them? So many things but I'll just highlight a few!!! The following pics are all from my starter kit!
1. The stamps are pre-cut, pre-indexed and come in a DVD case that has a great cover.
Simply pop them out and they're ready to use!!
The DVD case clearly shows what's inside!
And, check out the acrylic blocks - slightly indented so your finger can get a good grip on the block - awesome!
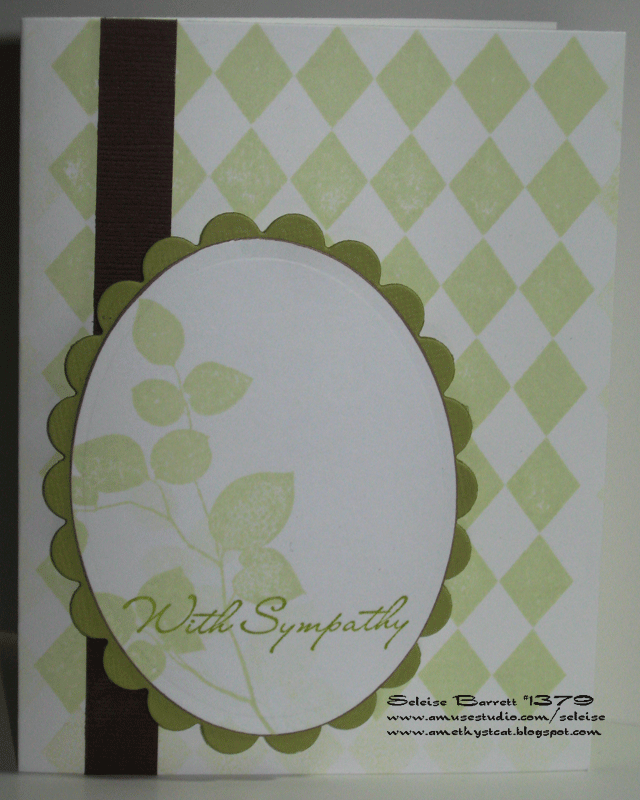
2. The papers come in gorgeous colors and patterns. And, they're white on one side so they're perfect for card-making!
3. And, look at those yummy ink colors!!!
4. The flowers come in packs of 100, the ribbons come in 8-10 yard lengths and there are twinkle stickers!!!
4. Copics!!! Need I say more?
6. And, most importantly, they have a great angel policy for their stamps!
There's more but I'll stop with this for today! Time to start playing with my starter kit! If you want a catalog or want to host a party, please send me an e-mail at sbamethyst@gmail.com!
I'll be back with some creations soon! Have a wonderfully creative day!!


